Front and back displays

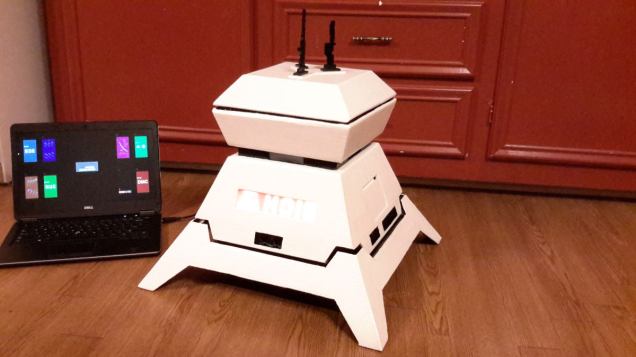
After the body and head have been painted, we get started with the details. We use the large areas of  the front and back sides to mount two displays. For the front side, we use five 8×8 LED matrices MAX7219. These are wired in series and mounted behind a piece of plexiglas that we sanded to obtain a matte surface.

For the backside we use a 1602 LCD display (2 rows with 16 characters each), together with a I2C interface which is soldered to the back.

This is how the displays look like:

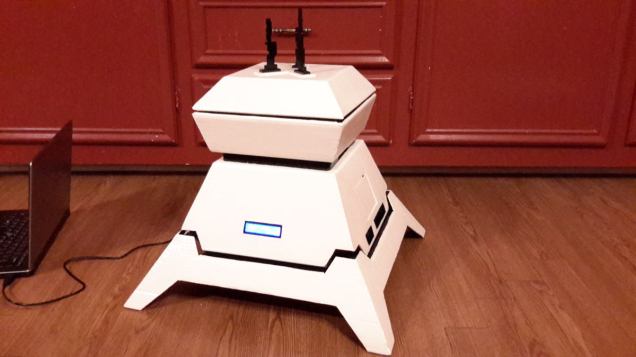
and here is the full view on the droid from the front

h048

and from the back side.

h049

Upper body and head

The upper body of the original H015 droid consists of white plastic only. But we want to have some fun with our H015, so we add something on each side: Displays on the front and back sides, and doors on the left and right sides.

First we add a second layer of cardboard, before we cut the openings.

Then we build the doors and paint everything with a white primer (Gesso).

Now we add the black paint.

h035

Before finishing everything the paint job, it’s time to think about the antennas. Originally, we planned to have some very simple structures, like round pieces of wood. But then the recent details for the sentry droid became public, and the guys at rebeldroids.net came up with some very detailed plans. At this point we decided that we need a little more detail. So we cut the approximate shapes out of 1/8″ plywood.

Now H015’s head looks like this:

h040